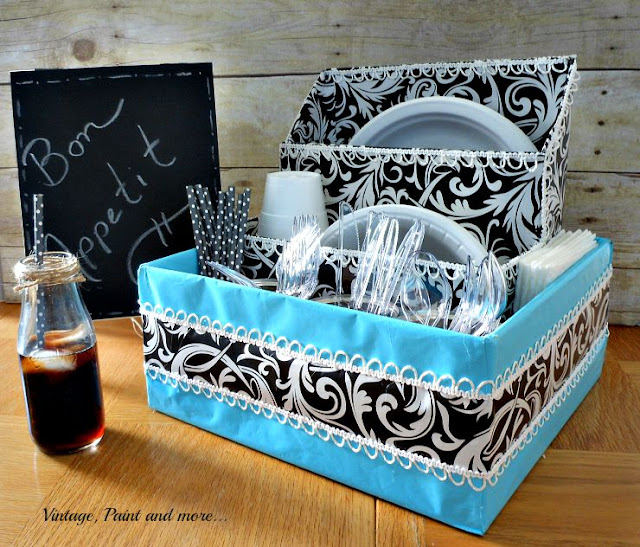
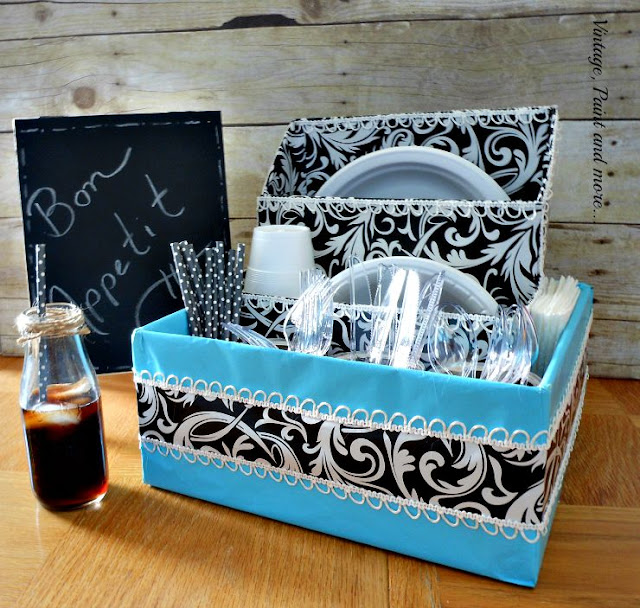
Hi everyone. Today I am sharing another project I made for "Sissy's" dorm room. This is more for organization than it is for decor but I still dressed it up a bit in her blue and black theme to make it more fun. This is what I call a dish organizer - something to make things a bit easier for her. It contains paper plates, bowls, cups, plastic eating utensils, napkins and straws to make it easier for her to have snacks and quick meals in the dorm. Everything she needs is right in one place.
You may remember a post I did a while back for organizing papers using cereal boxes. I am still using this little paper organizer and love it. So I thought why not make her dish organizer out of boxes also.
So I collected a few different size boxes I thought would work and three tin cans to use for the utensils.
This is the supplies you will need for this project:
- your boxes (make sure our items fit in them)
- three tin cans
- assorted wrapping paper
- glue gun and sticks
- scissors
- duct tape or masking tape
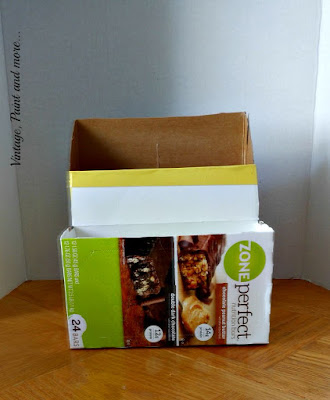
First I decided how I wanted to put the boxes together. I taped the large cereal box and the smaller box together for the plates and bowls. I then cut the large box as shown so that the plates could be seen from the front when stored.
This is just another view of the taping.
I made sure they were taped together well and also reinforced them a bit with duct tape in some of the areas I felt were a bit weak.
Next I wrapped this box with the black print wrapping paper and the large shoe box was wrapped with the blue wrapping paper. (For some reason the pictures make the blue look like it has wrinkles but it is really smooth.) After wrapping the two boxes I glued the black print box inside the blue box. Then I glued the three tin cans down in front of the black print box.
I decided it needed a little dressing up so I used my "go to trim" - the bolt of button holing - and glued it all around the edges of the black print box. Then I cut a 3 inch piece of black print wrapping paper and glued it around the blue box and added some button hole trim above and below it. I think this little added touch dresses it up nicely.
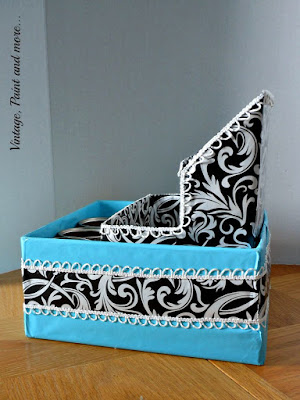
This is the side view and you can see the tin cans nestled down in front of the black print box.
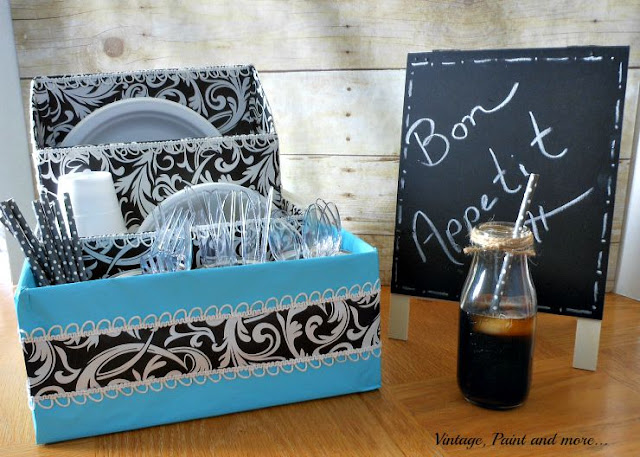
Here it is all filled up with her "dishes" for her quick snacks when she needs one. I love how it turned out - so cute and organized and budget friendly.
This project actually cost us nothing as we had the boxes and the wrapping paper on hand. However in case you decide to make one we purchased the paper at the Dollar Tree.
So how are you doing on your back to school or off to collage projects. We have finally finished up with all the collage items and I will be sharing a few more with you in a few days. As for back to school - our first day is Thursday and I think Miss A and her Mother are ready. And believe it or not today our community pool is finally finished and opening for the first swim day. So guess where we'll be - Miss A wouldn't miss this for anything.
Until next time - enjoy creating something you love.
I will be linking to the parties listed on the Where I Party page. Be sure and go by and visit - you will be so amazed by all the great inspiration and creativeness found at each one.






This is so clever! I want to make one for my desk at work to get organized.
ReplyDeleteThis is just lovely! I love your use of the paper. I made a similar one, but you went further with the pretty ribbon!
ReplyDeleteGreat idea! I love "trash to treasure" type projects.
ReplyDeleteThanks for linking up to the Welcome Home Wednesday Linky Party, hope you come party with us again.
wow totally cool! Brilliant idea and great for home or work or school! Easy to make, easy to personalize and if it get's destroyed you are only a little sad. Perfect!
ReplyDeleteThis is a great idea. It could actually be used for almost anything. I think I will make one for my office supplies, and get my desk a bit neater.
ReplyDeleteCathy,
ReplyDeleteNow this is one amazing project!! Love the color combination that you chose! So pretty and great at recycling things that most of us just throw away!!
Thanks so much for visiting!!
Hugs,
Deb
What a great idea, and it looks so cute!
ReplyDeleteThis is such a smart way to reuse those boxes and cans we throw away everyday! This is great and would be so helpful for having BBQs or friends over too :)
ReplyDeleteStopping by thanks to Dream. Create. Inspire. Link!
- Courtney
courtneylthings.blogspot.com
You always make such wonderful things out of stuff most of us just throw away! Really cute. Thanks for sharing with SYC.
ReplyDeletehugs,
Jann
I have made the letter keeper before and it works great! Thanks for joining Home Sweet Home!
ReplyDeleteCongratulations! This post is going to be featured over at Diana Rambles tomorrow and has been pinned in the Featured at Diana Rambles board at Pinterest, Tweeted, and Stumbled. Please grab a featured button off my button page or via the post guidelines graphic. Thanks for sharing this awesome idea!
ReplyDelete